This page is a list of what is left to do.
- Arduino with electronics box. What DIY product would not be complete without Arduino controlled lights and such!
- Proximity sensor at Dorkpod top with alar or joystick override. This will keep you from hitting the top on low hanging items you can't see. Like garage doors no open all the way.
- High ridge sensor below Dorkpod floor to let you know when a road offset is greater than 1/4 diameter of the front wheels
- Seat project not finished
- Rain roof project not finished
Dorkpod DIY Kit Electric Vehicle assembly day eleven by Tinkersmiths Makerspace. On this day we worked on more accessories such as a seat option.
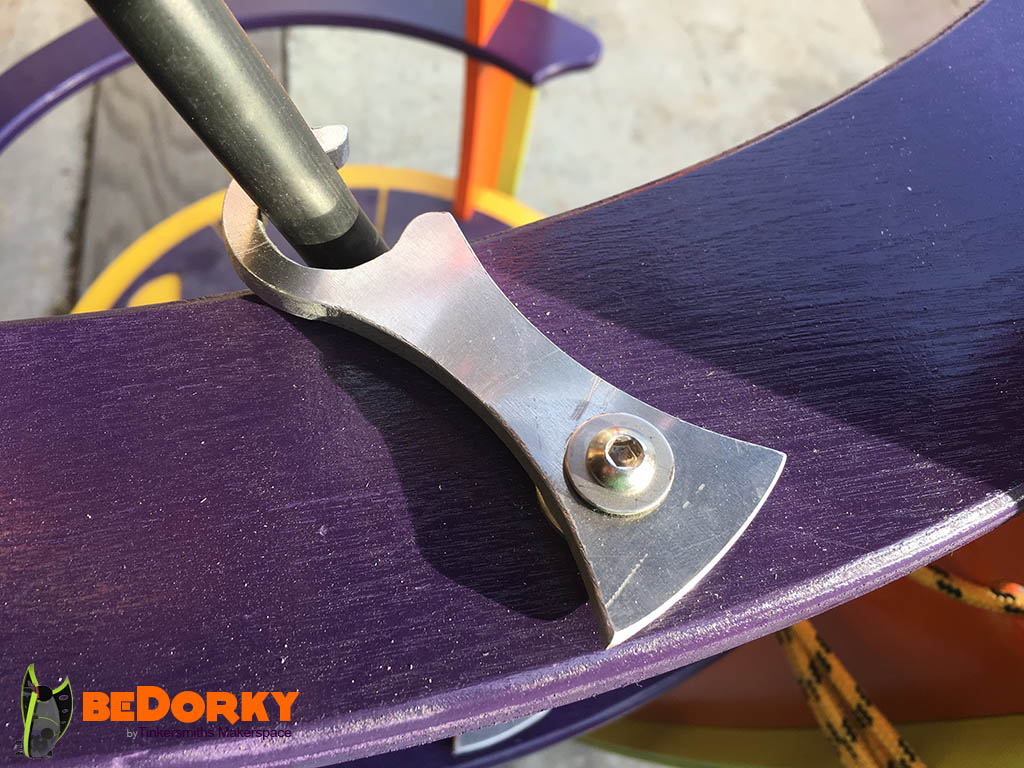
CNC Milling Aluminum for Stability Where the Guardrail Meets the T-fins.

Dorkpod Kit Floor Branded Aluminum Cod Piece with Painted Lettering.

Started Roughing in Dork Pod Kit Seat Option.
Dorkpod Electric Vehicle assembly day ten by Tinkersmiths Makerspace. On this day we worked on accessories such as the joystick mount.
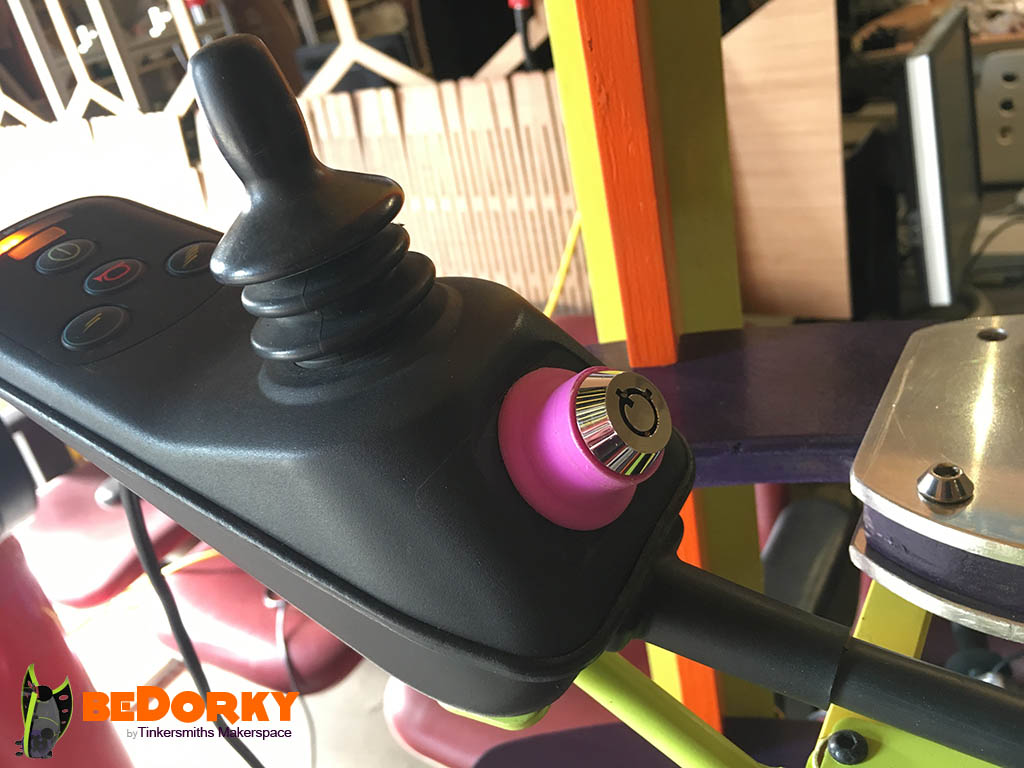
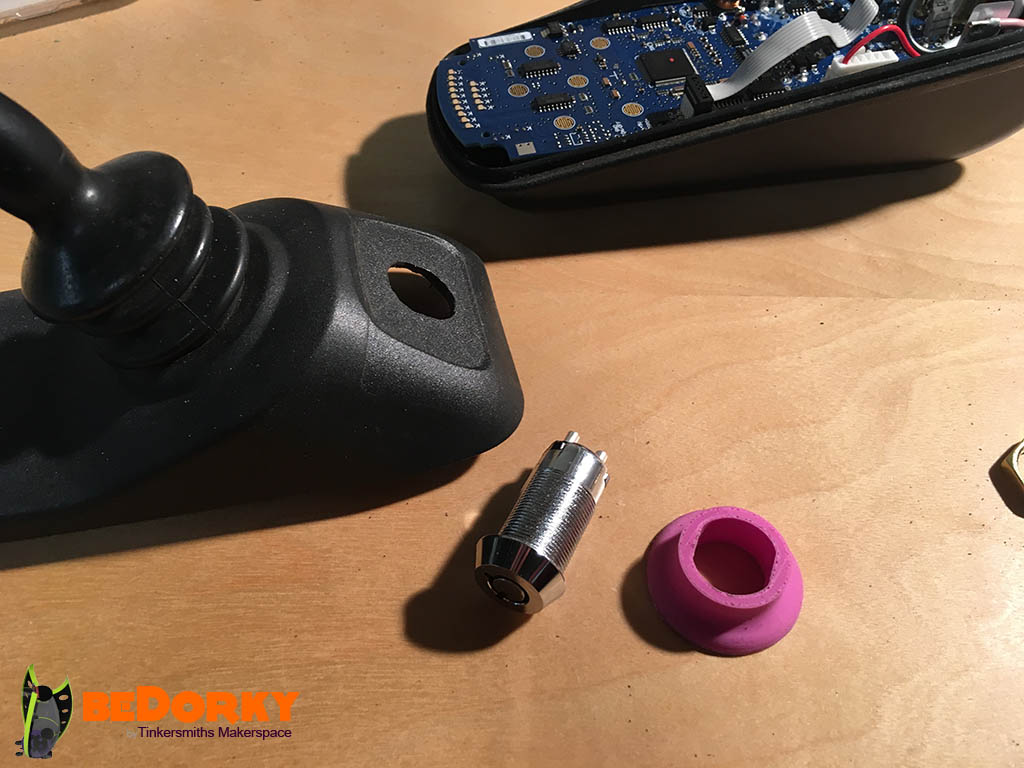
Added an Electronic Keylock on Dorkpod so Thugs Will Not Take Off With It.
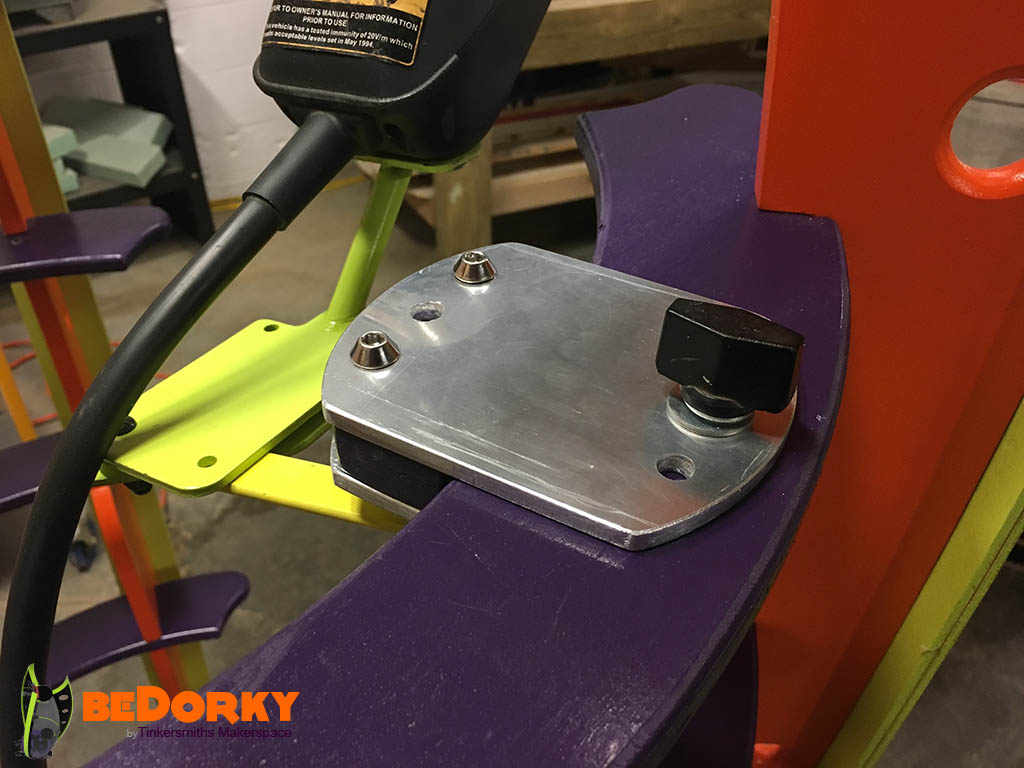
Assembling the Aluminum and Steel Dorkpod Joystick Control Bracket.
Assembling the Aluminum and Steel Dorkpod Joystick Control Wiring Bracket.

CNC Milling and Installing the Aluminum Wire Stand-offs.
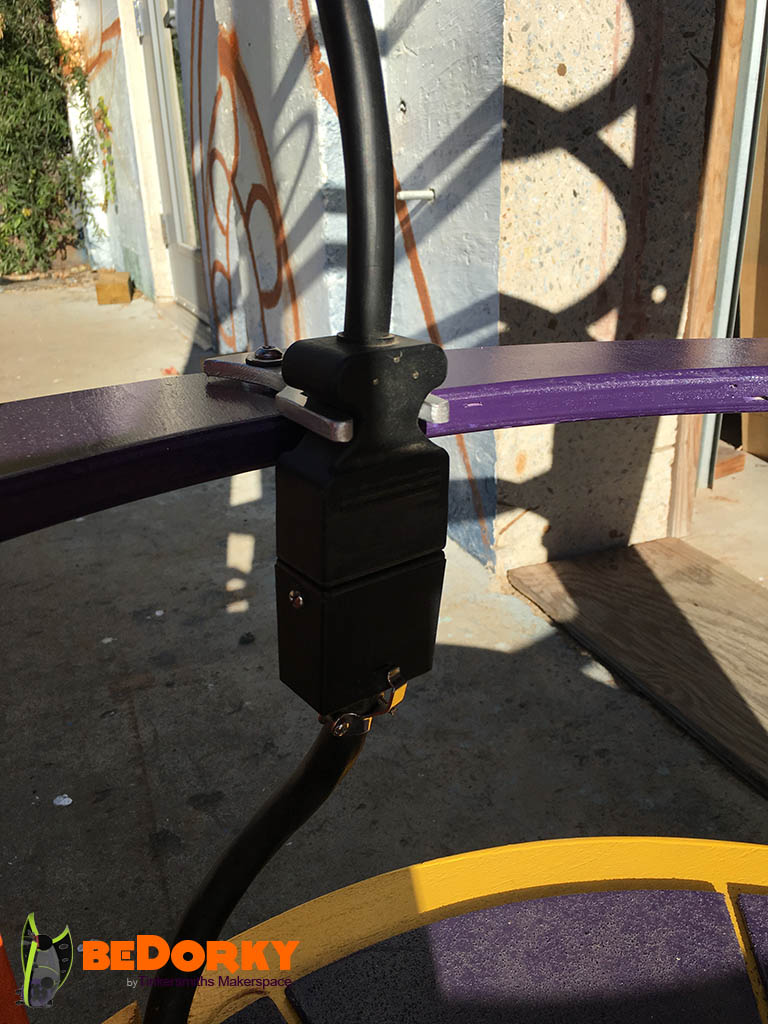
CNC Milling and Installing the Aluminum Wire Coupler Bracket.
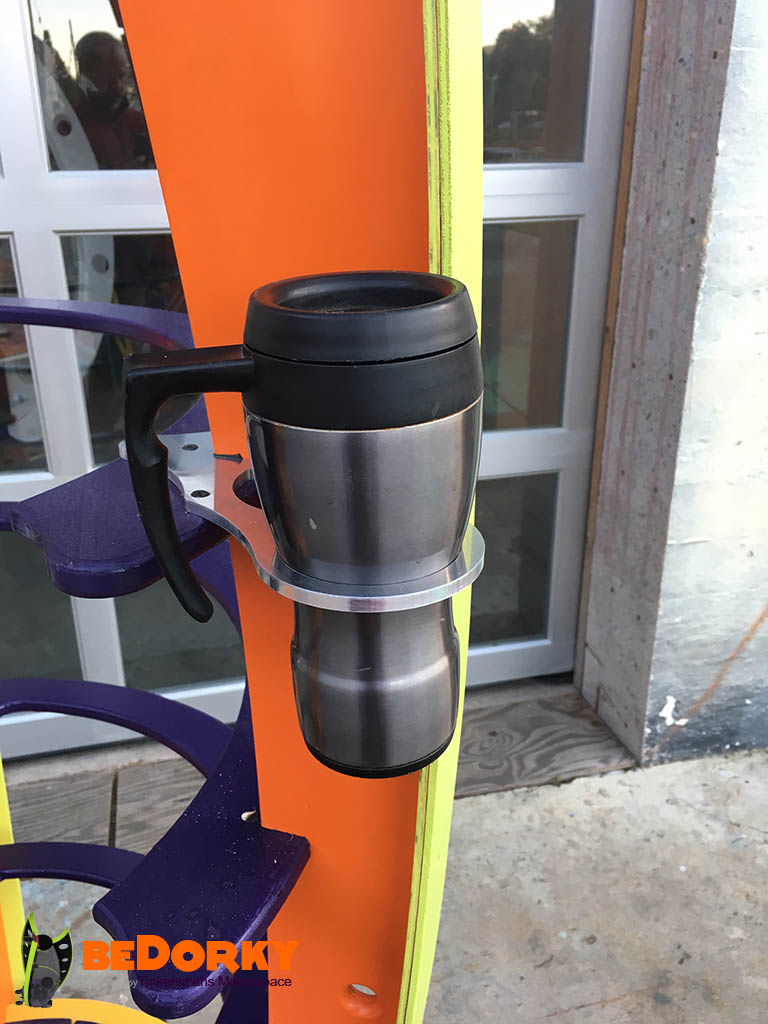
CNC Milling and Installing the Aluminum Cup Holder Bracket.
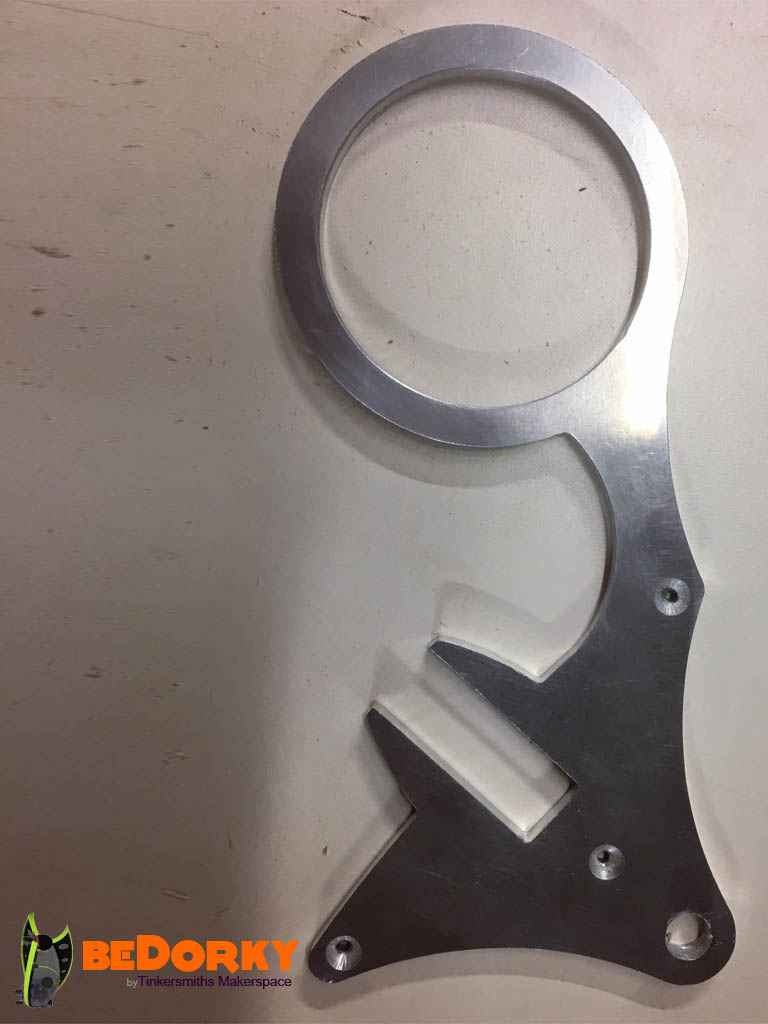
CNC Milling and Installing the Aluminum Cup Holder Bracket.
Dorkpod Electric Vehicle assembly day nine by Tinkersmiths Makerspace. On this day we added some extra detailing like curved fenders below the floor .
Dorkbot Kit Logo Installed on below the floor line.
Dorkbot Logo Installed on Dorkpod.
Bending the Dorkbot Logo with Hydraulic Press for Lower Front of Dorkpod.
Milling Aluminum with our CNC to Make a Dorkbot Logo for Front of Dorkpod .

Plywood and Poplar Curved Under Floor Fender Ready For Primer.
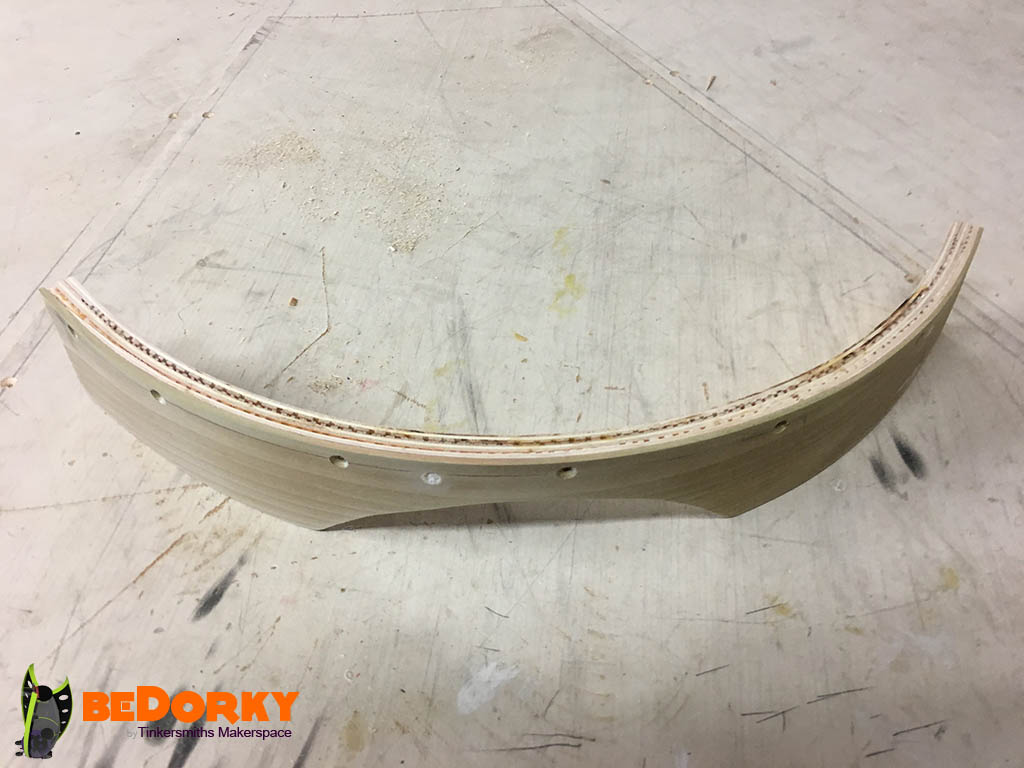
Dorkpod Fender Pre-drilled, Unprimed.

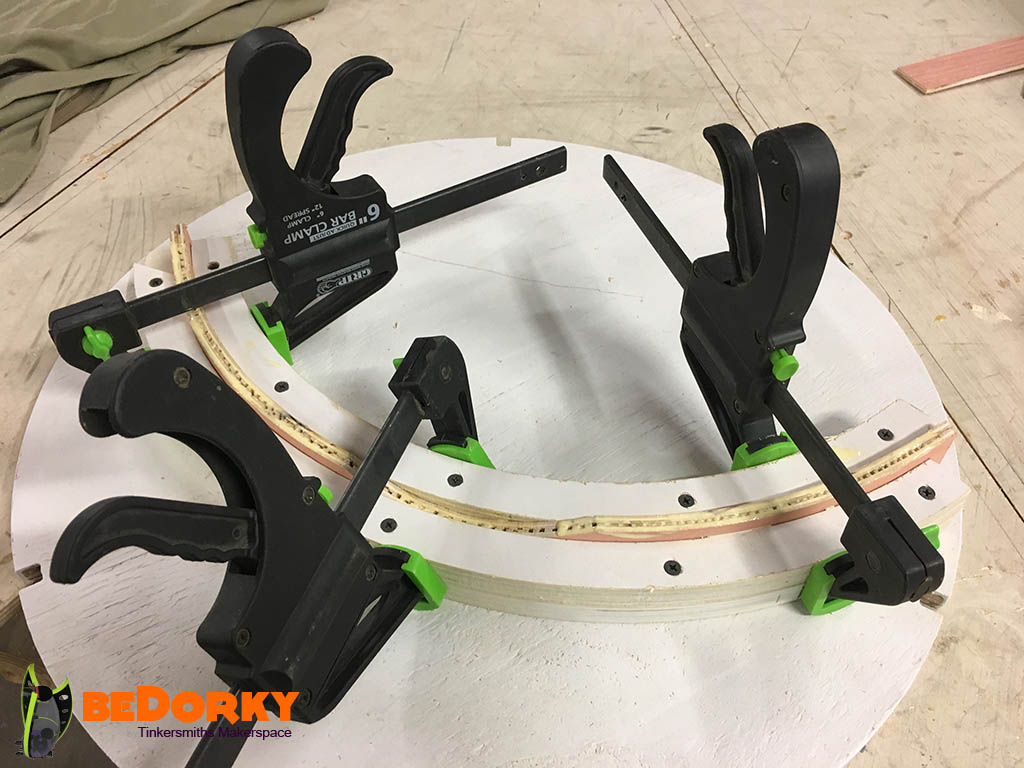
Clamping Strips of 1/4" Plywood in a Cradle to Make a Curve Fender.